

How to Replace a Shower Head (Step-by-Step Guide for Beginners)
Replacing a bathroom fixture might sound complicated, but learning how to replace a shower head is actually one of the easiest DIY upgrades you can do at home. Whether you’re dealing with low water pressure, leaks, or an outdated design, a new shower head can instantly improve your daily routine. The best part? You don’t need professional help or expensive tools to get it done. With just a few simple steps, you can upgrade your shower in minutes. In this guide, you’ll learn how to replace a shower head quickly, safely, and effectively, even if you’re a complete beginner.

Why You Might Need to Replace Your Shower Head
There are several practical reasons why you might need to replace your shower head, and most of them directly impact your daily comfort. One of the most common issues is low water pressure. Over time, mineral deposits from hard water can clog the tiny holes in the shower head, reducing the water flow and making your showers less satisfying.
Another major reason is leakage. If your shower head keeps dripping even when the tap is turned off, it could indicate worn-out internal parts or improper sealing. Replacing it is often easier and more cost-effective than trying to repair it.
Hygiene is also an important factor. Old shower heads can collect bacteria, mold, and limescale, especially if they haven’t been cleaned regularly. Switching to a new one ensures a cleaner and healthier shower experience.
In addition, many homeowners choose to upgrade for aesthetic reasons. Modern shower heads come in sleek designs and advanced features like rainfall flow or adjustable pressure settings, which can enhance both the look and functionality of your bathroom.
Lastly, replacing your shower head can help you save water. Newer models are designed to be more efficient, reducing water usage without compromising performance.
Tools and Materials You’ll Need
Before you begin the process of replacing your shower head, it’s important to gather all the necessary tools and materials. Having everything ready will make the job quicker and smoother.
The most essential tool is an adjustable wrench. This helps you loosen the old shower head if it’s tightly fixed. However, in many cases, you can remove it by hand. To avoid scratching the metal surface, it’s a good idea to use a soft cloth or rag between the wrench and the shower arm.
You’ll also need plumber’s tape, commonly known as Teflon tape. This is a small but crucial item that ensures a tight seal and prevents leaks when installing the new shower head.
Of course, you’ll need your new shower head. Make sure it is compatible with your existing shower arm and suits your water pressure needs.
Additionally, you may want to keep a bowl of vinegar or a cleaning solution nearby. This can be useful for cleaning any mineral buildup on the shower arm threads before installation.
With these simple tools and materials, you’ll be fully prepared to replace your shower head without any hassle.
Types of Shower Heads You Can Choose From
When learning how to replace a shower head, it’s also important to understand the different types available. Choosing the right one can greatly improve your shower experience.
Fixed shower heads are the most common option. They are mounted directly to the wall and are easy to install, making them perfect for beginners.
Handheld shower heads offer more flexibility. They come with a hose, allowing you to move the shower head freely. This is especially useful for cleaning the bathroom or bathing children and pets.
Rainfall shower heads are designed to provide a luxurious experience. They deliver water in a gentle, wide flow that mimics natural rain. While they look stylish, they may require slightly higher water pressure to perform well.
High-pressure shower heads are ideal if you struggle with weak water flow. They are specifically designed to boost pressure, giving you a stronger and more refreshing shower.
Dual shower heads combine both fixed and handheld options. This gives you the best of both worlds and adds extra convenience.
By understanding these options, you can choose a shower head that matches your needs, style, and budget perfectly.
Step-by-Step Guide to Replace a Shower Head
Replacing a shower head is a simple DIY task that anyone can complete with basic tools. Follow these step-by-step instructions to ensure a smooth and leak-free installation.
Step 1 – Turn Off the Water Supply
Before starting, make sure the shower is completely turned off. You don’t usually need to shut off the main water supply, but ensure no water is running. This helps you work comfortably without any unexpected splashes.
Step 2 – Remove the Old Shower Head
Try to unscrew the existing shower head by hand by turning it counterclockwise. If it’s too tight, use an adjustable wrench for extra grip. Place a soft cloth around the connection to protect the finish from scratches. Once loose, remove it completely from the shower arm.
Step 3 – Clean the Shower Arm Threads
After removing the old shower head, you may notice dirt, old tape, or mineral buildup on the threads of the shower arm. Clean this area using a cloth or an old toothbrush. If there is heavy buildup, dipping the cloth in vinegar can help dissolve it effectively. A clean surface ensures a better seal for the new installation.
Step 4 – Apply Plumber’s Tape
Wrap plumber’s (Teflon) tape around the threads of the shower arm in a clockwise direction. This step is very important as it prevents leaks and creates a tight seal. Usually, wrapping the tape 2–3 times around the threads is enough.
Step 5 – Install the New Shower Head
Take your new shower head and carefully screw it onto the shower arm by turning it clockwise. Start by hand-tightening it to avoid cross-threading. Once it feels secure, you can use a wrench to tighten it slightly more, but be careful not to overtighten as this can damage the fittings.
Step 6 – Test for Leaks
Turn on the shower and check for any leaks around the connection. If you notice water dripping, try tightening the shower head a little more or reapplying plumber’s tape. Once everything is secure and working properly, your installation is complete.
By following these simple steps, you can easily learn how to replace a shower head without professional help. It’s a quick upgrade that can instantly improve your shower experience.
Also Read: How to Fix a Leaking Shower Head
Common Mistakes to Avoid When Replacing a Shower Head
While replacing a shower head is simple, a few common mistakes can lead to leaks or damage. One of the biggest errors is overtightening the shower head. Many people think tighter is better, but this can damage the threads or crack the fitting, leading to leaks.
Another mistake is skipping plumber’s tape. This small step plays a big role in preventing water leakage. Without it, even a properly installed shower head can drip.
Cross-threading is another issue to watch out for. If the shower head is not aligned properly while screwing it on, it can damage the threads and make installation difficult. Always start by hand-tightening carefully.
Using the wrong tools or applying too much force can also cause scratches or breakage. Lastly, ignoring mineral buildup on the shower arm can prevent a proper seal. Cleaning before installation is essential for a smooth fit.
How to Fix Different Types of Shower Head Leaks
Even after installation, you might face minor issues like leaks. Understanding the type of leak can help you fix it quickly.
If the leak is at the connection point between the shower head and the shower arm, it usually means the seal is not tight enough. In this case, remove the shower head, reapply plumber’s tape, and tighten it properly.
If your shower head keeps dripping even when the water is turned off, the issue might not be the shower head itself but the faucet valve. However, sometimes cleaning or replacing the internal washer of the shower head can help.
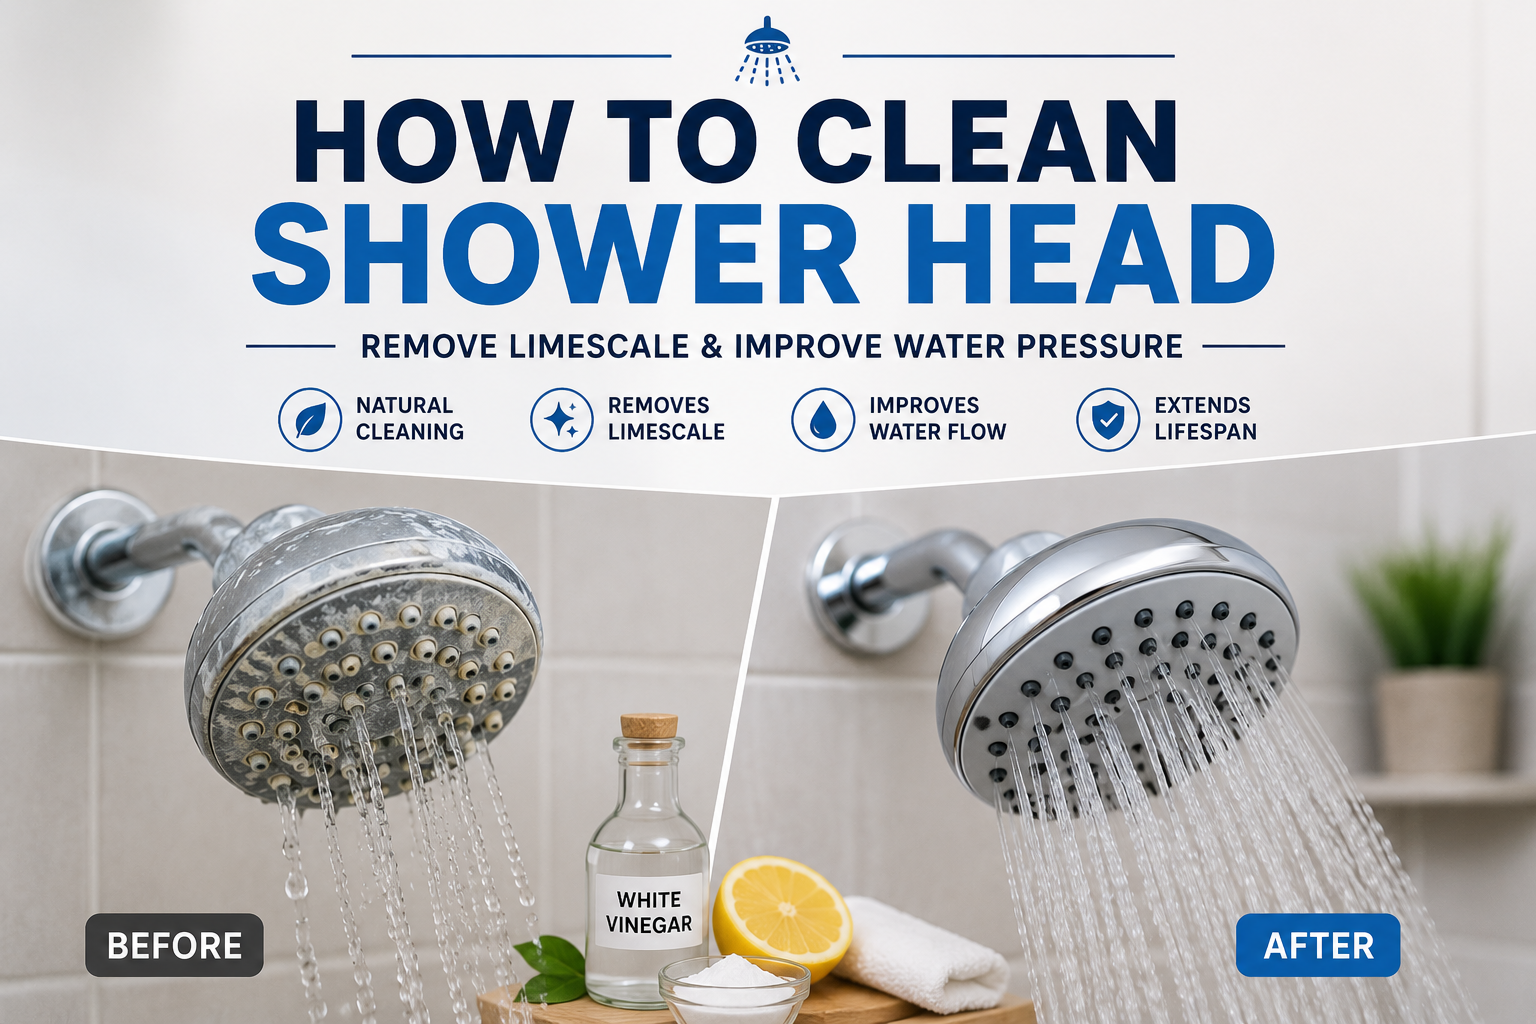
For weak water flow, mineral buildup is often the main cause. You can remove the shower head and soak it in vinegar for a few hours to dissolve the deposits. This simple cleaning method can restore proper water pressure.
Fixing these small problems early can prevent bigger issues and help your shower head last longer.
Tips to Maintain Your Shower Head for Long-Term Use
Proper maintenance can extend the life of your shower head and keep it working efficiently. One of the easiest ways to maintain it is by cleaning it regularly. Soaking the shower head in vinegar every few months helps remove mineral deposits and keeps the water flow smooth.
It’s also important to check for leaks occasionally. Even a small drip can lead to water wastage over time. Tightening the connection or replacing the plumber’s tape can quickly fix the issue.
Additionally, wipe the surface of the shower head to prevent buildup of dirt and soap residue. If your shower head has rubber nozzles, gently rubbing them can help clear any blockages.
With simple care, your shower head can stay in great condition for years.
When to Call a Professional Plumber
Although replacing a shower head is usually a simple DIY task, there are situations where professional help is needed. If the shower head is stuck due to rust and won’t come off, forcing it may damage the pipe.
You should also call a plumber if you notice pipe damage, severe leaks, or ongoing water pressure issues even after replacement. A professional can quickly identify the root cause and fix it safely.
Benefits of Replacing Your Shower Head
Replacing your shower head comes with several benefits that improve your daily routine. One of the biggest advantages is better water pressure, which makes showers more refreshing and enjoyable.
A new shower head also improves hygiene by eliminating bacteria, mold, and mineral buildup found in older units. In addition, modern designs can instantly upgrade the look of your bathroom, making it feel more stylish and comfortable.
Another key benefit is water efficiency. Many new shower heads are designed to use less water while still providing strong performance, helping you save on utility bills.
Overall, it’s a small upgrade that delivers noticeable results in comfort, cleanliness, and cost savings.
Also Read: Choosing the Best Shower Screen for Your Bathroom
Conclusion
Learning how to replace a shower head is a quick and practical skill that can save you time and money. With just a few simple tools and steps, you can upgrade your bathroom and enjoy a better shower experience every day. Whether you’re fixing a leak, improving water pressure, or updating your bathroom style, this DIY task is worth doing.
Upgrade your bathroom today with high-quality shower heads from Living and Bathroom and home essentials designed for comfort and performance.
FAQs
1. How often should you replace a shower head?
You should replace your shower head every 6–12 months if you have hard water, or every 1–2 years under normal conditions.
2. Do I need a plumber to replace a shower head?
No, replacing a shower head is a simple DIY task that most people can do without professional help.
3. Why is my new shower head leaking?
Leaks usually happen due to improper sealing. Applying plumber’s tape and tightening the connection properly can fix it.
4. Can I replace a shower head without tools?
Yes, many shower heads can be removed and installed by hand, but a wrench can help if it’s too tight.
5. What is the best shower head for low water pressure?
A high-pressure shower head is the best option as it is designed to improve water flow and provide a stronger shower experience